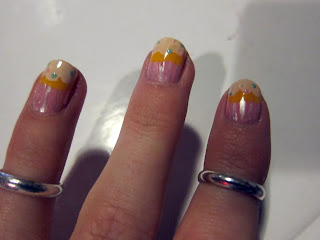
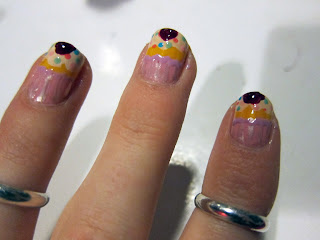
Cupcaaaakes!
I wanted to try out my new dotting tools from ebay so I searched on ebay for ideas and came across this Cupcake design by Cupcake's Clothes. Had a quick look through this girl's blog and it's absolutely fab. Check it out HERE.
I used 8 different nail varnishes. You can choose whatever colours you want. Most of mine are from Barry M. Cheap and cheerful!
I also had scrap paper on hand to dab some nailvarnish on to, a cotton pad to wipe the excess polish from the dotting tools and worked on top of a hard surface.
Start with a layer of light pink.
Let it dry and then use the dotting tool to create lines of a light silver/cream from the base of the nail to the mid points. This creates the cupcake paper.
Then add a tip of yellowy varnish to create the cupcake sponge.
Leave to dry and then put a tip of creamy varnish to make the icing.
Let dry and then use the dotting tool to add your colourful sprinkles. I started with blue..
..then added pink..
...and green and more pink. I then added a cherry on top.
I added in a zigzag of light purple vanish around the cupcake paper case, just to make it stand out more.
Tadaaaa!
Finish with a top coat of your choice!
Yum yum!


These look amazing! i just can never do my right hand<3
ReplyDeleteHaha, I know! I've only done my left hand! Think I'll just paint my right hand a neutral, too late for all this cupcake malarky now!! x
DeleteThese are so impressive, you defiantly have a steady hand.
ReplyDelete