
Here's a quick tutorial on a chevron nail design.
You can choose any colours you like for your design but the best type of varnish to use is either fast drying or varnish that is relatively opaque with one coat. (Saves drying time between coats!)
I started with a coat of a pink nail varnish.

You need to wait until your varnish is dried COMPLETELY before you carry on with the next step.
Get your sellotape ready. Cut ten squares of sellotape and lay them out so they are easy to pick up.

Dab the sellotape on the back of your hand a couple of times so the stickiness isn't going to peel off the nailvarnish. Apply onto the cuticle area of your nail as far down as desired. Your nails should look like this:

Next add a coat of your next colour. I decided to add two coats of this varnish as it was quite sheer. I decided not to add another chevron but if you want more than one stripe on your nail you can wait for this coat to dry completely and then repeat the process as many times as desired.

When you peel off the tape it should look like this.

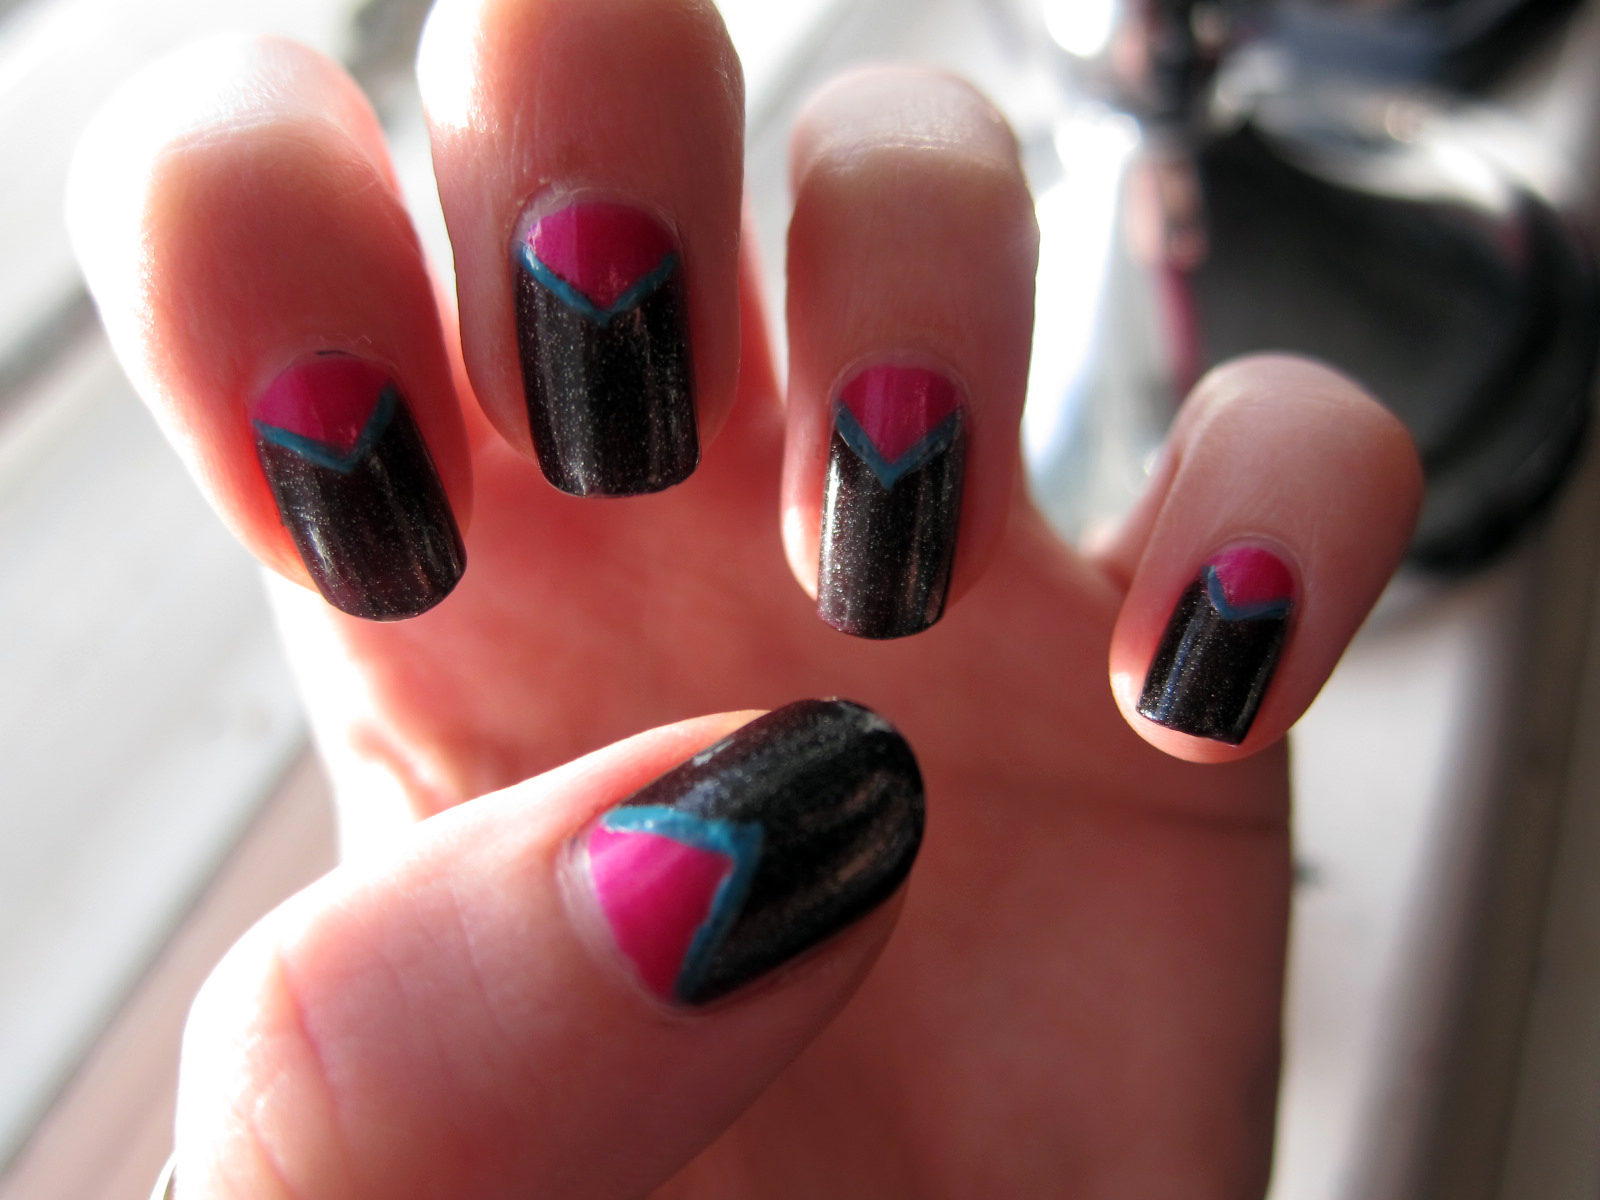
To tidy up slightly and add an extra pop of colour, I used a nail art pen in turquoise to line the edges of the triangles.

And here's the finished look!
These look great! I plan to steal this in the future! x
ReplyDelete